Thrifty Thursday Mason jar – (or Recycled Glass Jar – Go Green Tip!) Herb Garden
Grow your own herbs instead of buying the expensive fresh or dried herbs in the store. Takes up a small amount of space and you get the benefit of the full flavor and aroma of freshness to add to your recipes.
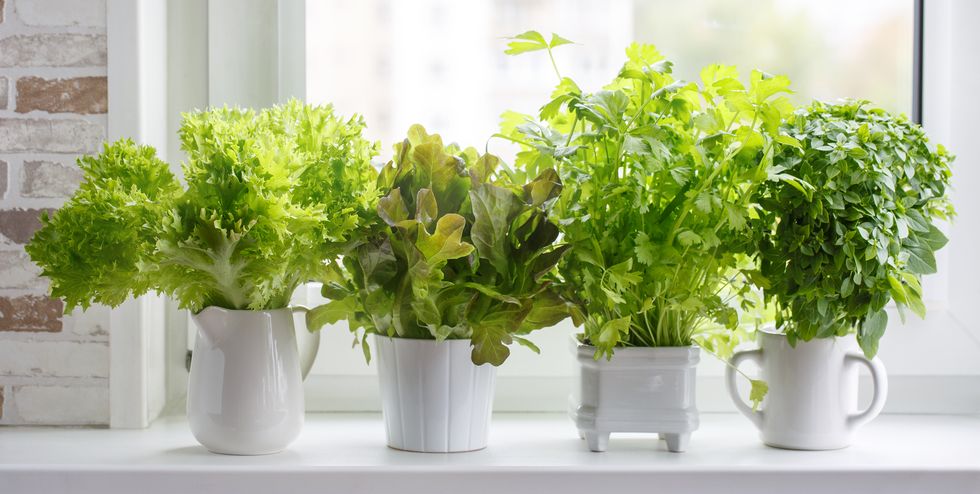
Mason jars are readily available, inexpensive and have an innate rustic style that endures. Using other jars is a free recycle option for growing herbs is a no-muss, no-fuss solution when transplanting herbs or starting from scratch. or you can even use other porcelain items for a container. Follow the steps below to manage drainage, growing medium, sunlight requirements and will add a bit of flair to our favorite indoor plants.


Materials
• Quart jars or containers
• Small rocks or gravel or even marbles
• Potting mix
• Herb plants or seeds
• Jar labels
Step One: Place Rocks in Jars
Because the jars do not have holes for drainage, starting with a layer of rocks, gravel or even marbles about 2 inches deep in the bottom of jars will prevent roots from damage from excess water.
Step Two: Add Potting Soil
Unlike soil, potting mix is a planting medium that includes lighter organic material like peat, composts and sometimes perlite. Potting mix (not to be confused with potting soil) provides excellent moisture retention and is a good choice for container gardening. Fill jars with potting mix to 1-2 inches below the jar rim.
Step Three: Transplant Herbs or Plant Seeds
While a Mason jar herb garden is an easy way to transplant herbs from outdoor planter boxes for kitchen-friendly gardening, Mason jars are also a cheap and convenient way to plant herbs indoors. Follow instructions provided by seed provider for best results, but in most cases, simply sow seeds on top of potting mix, cover with an inch or so of additional potting mix and lightly water.
When transplanting herbs to Mason jars, gently pull roots apart to encourage growth, plant in jar and pack mix firmly around the roots and base of plant (top off jar). For plants with more established roots, it may be necessary to remove a little potting mix from the jar before planting. Keep roots exposed to the air for as little time as possible and water plants as soon as they are re-planted.
Step Four: Label Jars
Herbs can be labeled using a craft stick placed in the dirt, an identification card attached to the neck of the jar or a sticker affixed to the jar itself.
Step Five: Maintenance
Your jar garden is terrifically portable. Place jars in a location that receives at least 6 hours of sunshine a day (windowsill, countertop, etc), but enjoy the ease with which they can be moved around. Keep herbs watered, but do not overwater. Harvest your kitchen crops as needed to add flavor to whatever is on the menu
Comment below and let us know what's in your garden or what your favorite herbs are.
# naturalhomebrands #herbgarden #recycle #thriftyThursday #herbs #growyourown
- Carole Zellers
Comments 0